Pro Painter USA
MILWAUKEE WI, USA,
November 2, 2026


DIY can save on labor, but it isn’t automatically the better value. In a DIY vs professional cabinet painting comparison, you can paint kitchen cabinets yourself and get a good result, but only if preparation, product choice, and curing receive as much care as the visible coats. Professional work generally costs more because it includes skilled labor, specialized equipment, careful preparation, and controlled finishing. Cabinet pricing is driven more by the number of doors and drawers than by kitchen floor area.
It’s understandable that DIY feels like the lower-cost route, since materials are only one part of a professional project’s cost. This guide explains what professional costs cover, where DIY projects can run into adhesion or finish problems, and how to weigh the result against your budget and schedule. You’ll also find a clear decision guide to help you choose the approach that fits your cabinets, kitchen plans, and desired finish.
• Compare project estimates by the number of cabinet doors and drawers, not just by kitchen size, and look at what labor and preparation are included.
• DIY materials may seem like the main expense, but a finish that fails can mean repeating the work and spending more time on repairs.
• Match cleaning, sanding, primer, and paint to your cabinet material, and allow the finish to cure before putting hardware and doors back into use.
• Choose the approach that fits your time, skill, and finish expectations; the article’s decision guide helps weigh those factors.
Cabinet estimates reflect the number of doors and drawers, preparation, equipment, finishing, and labor. Comparing those details shows what you’re paying for and how long kitchen access may be affected.
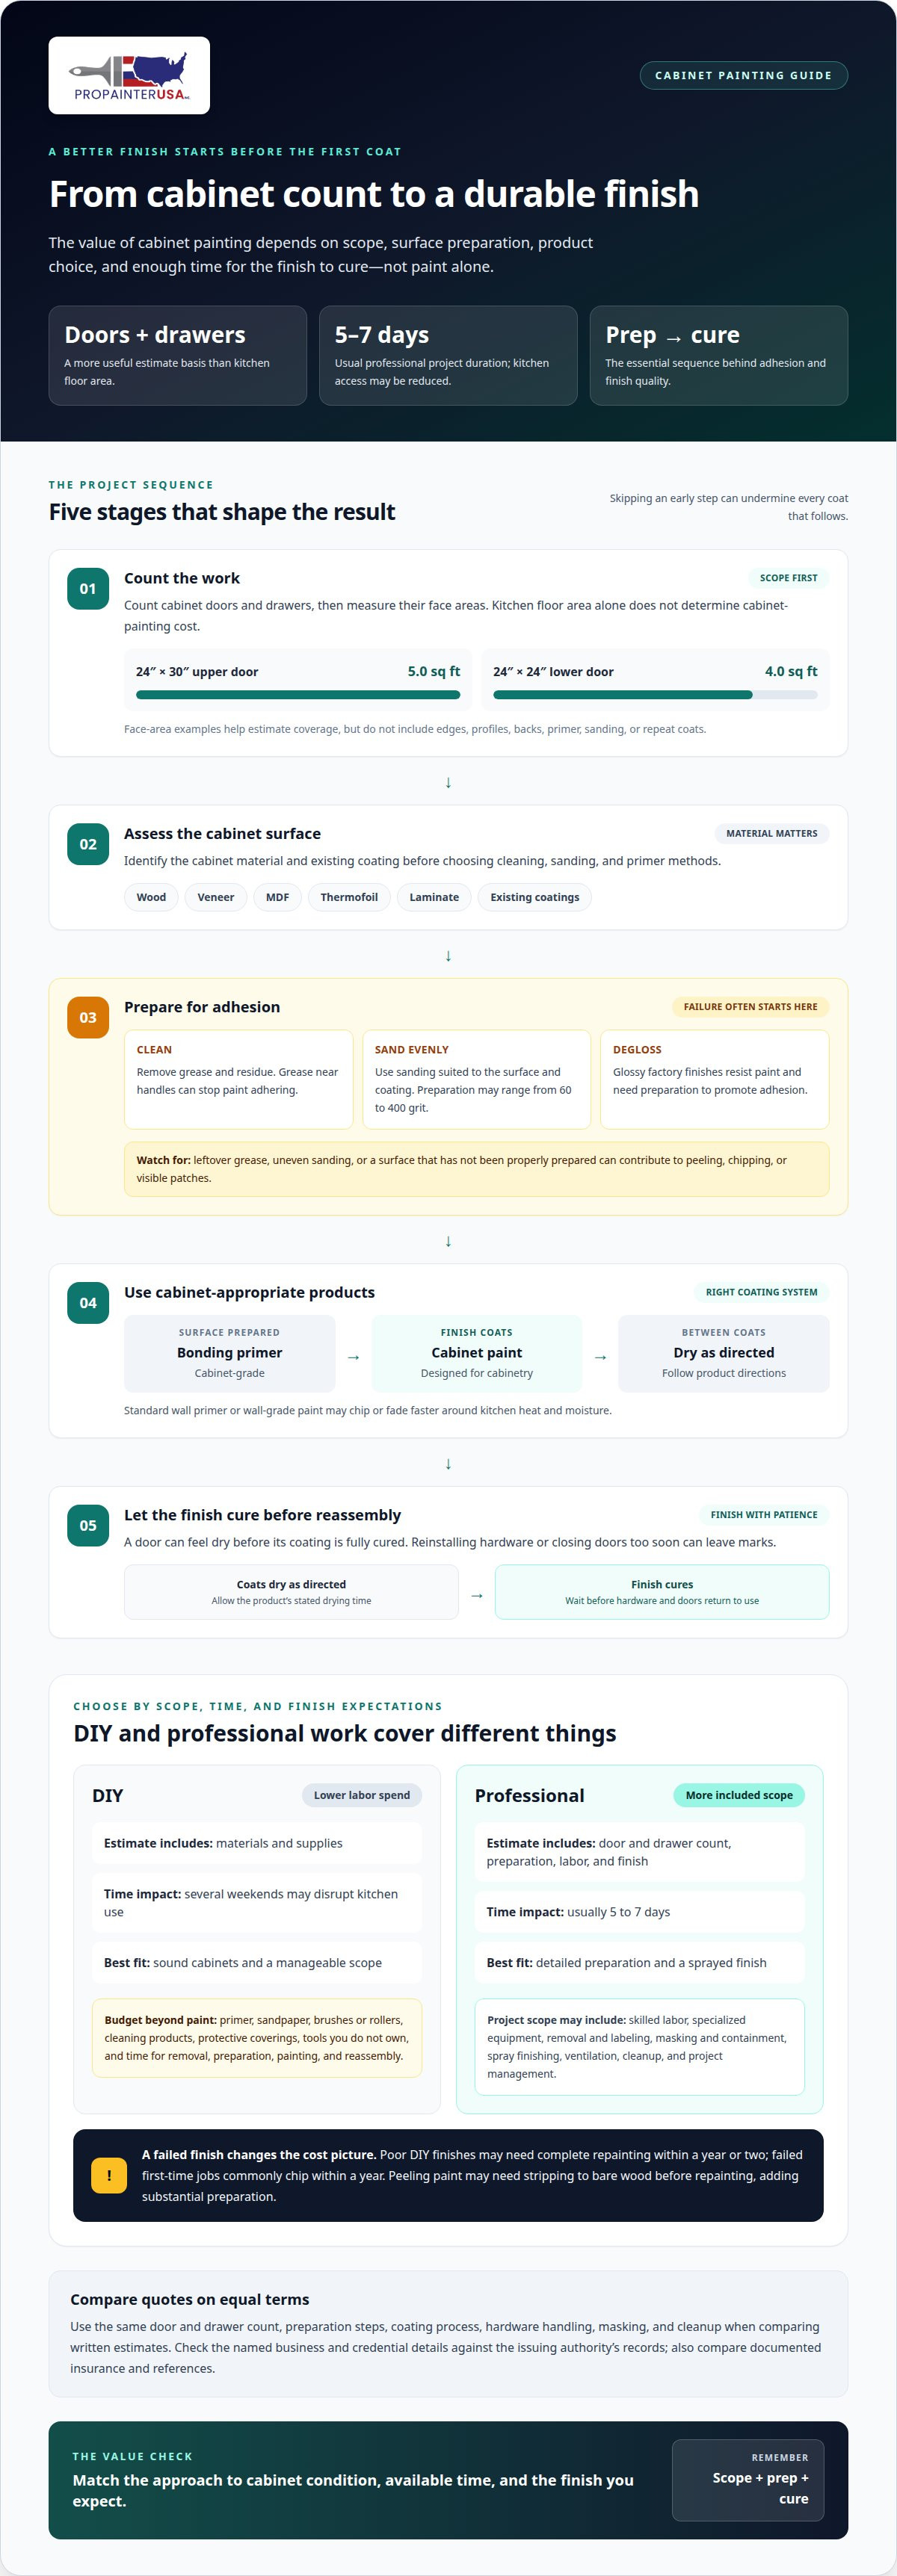
Estimate by counting doors and drawers, then measuring their face areas. A 12×12 kitchen’s floor area doesn’t determine cabinet-painting cost. Wood, veneer, MDF, thermofoil, laminate, and existing coatings each need assessment. Match cleaning, sanding, and primer to the material to help prevent peeling.
Professional cabinet painting usually takes 5 to 7 days, depending on kitchen size and finish. That timeline includes skilled labor, materials, specialized equipment, preparation, containment, spray finishing, and project management, not just paint application. Painters may remove and label doors and hardware, mask nearby areas, and ensure ventilation. With doors and drawers removed during parts of the work, plan meals around reduced kitchen access.
Compare written quotes with the same door and drawer count, preparation steps, coating process, hardware handling, masking, and cleanup. A lower total may cover fewer tasks, so compare equivalent scopes before judging value. To verify credentials, match the named business and credential details against the issuing authority’s records. Compare documented insurance and references as part of your decision.
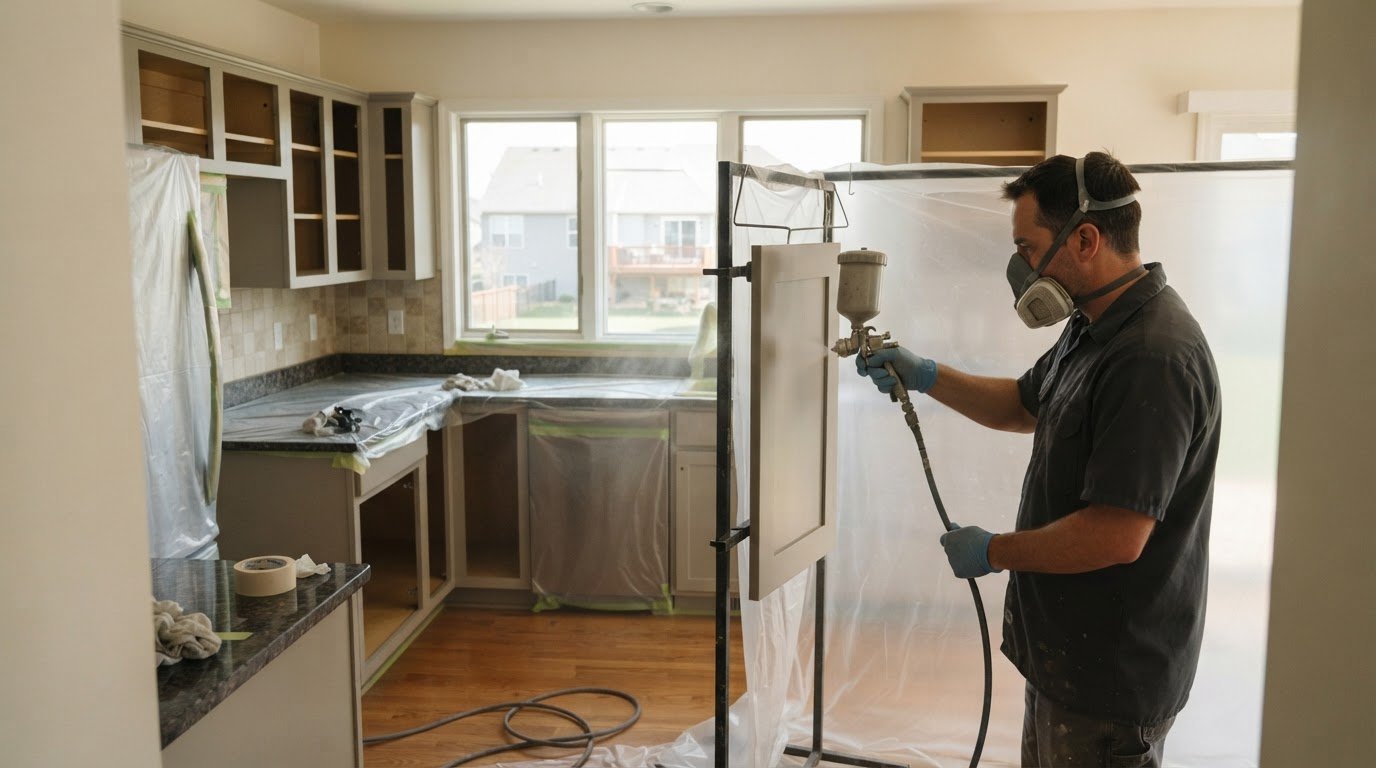
Professional painters prepare surfaces before spraying doors and drawer fronts for a smooth, even finish. They may remove and label pieces, mask kitchen areas, and use containment to manage dust and overspray. Sanding should suit the cabinet material and existing coating; glossy finishes need preparation to promote adhesion. These steps require more equipment and labor than brushing on paint, but help prevent uneven coverage and premature coating failure.
| Option | Estimate basis | Time and disruption | Best fit |
|---|---|---|---|
| DIY | Materials and supplies | Several weekends may disrupt kitchen use | Sound cabinets and a manageable scope |
| Professional | Door and drawer count, preparation, labor, finish | Usually 5 to 7 days | Detailed preparation and sprayed finish |
Choose based on cabinet condition, available time, and the finish you expect.
A homeowner’s materials budget covers more than the initial paint. Sandpaper, primer, brushes or rollers, cleaning products, and protective coverings all add to the cost. Include tools you don’t already own, as well as the time needed to remove hardware, prepare surfaces, apply coats, and put everything back.
Costs can rise if paint fails to bond or starts peeling. Grease left on a door, uneven sanding, or unsuitable paint can weaken adhesion. A poor DIY finish may need complete repainting within a year or two, and failed first-time jobs commonly chip within a year. If paint peels, the cabinet may need stripping to bare wood before repainting. That adds substantial preparation before you can restore a consistent appearance.
Count doors and drawers before estimating materials. Their edges, profiles, and backs also need attention, not just the visible face. A 24″ × 30″ upper door has a face area of 5.0 square feet, while a 24″ × 24″ lower door covers 4.0 square feet. These measurements help estimate coverage, but don’t account for sanding, primer, or repeat coats.
DIY can cost less upfront, especially when the cabinets are sound and you already own the tools. Professional pricing depends on cabinet count, condition, preparation, coating, and labor, and is provided after a quote request. Compare that scope with your DIY budget, then consider the cost of correcting peeling paint and repeating the preparation. A low initial spend isn’t the full picture if the finish needs rebuilding.
If a failed finish is part of a larger room update, residential interior painting can address the surrounding surfaces as part of the project.
Cabinet paint failures often begin before the first coat. Grease blocks adhesion, glossy factory finishes resist paint, and an unsuitable primer can undermine the finish. A reliable process starts with cleaning and assessing the cabinet material and existing coating.
For proper preparation, remove doors and hardware, then clean away grease and residue. Sand the surface evenly, using the grit suited to the coating and cabinet condition; preparation may require sandpaper ranging from 60 to 400 grit. Apply cabinet-grade bonding primer, followed by paint designed for cabinetry, and let each coat dry as directed.
Grease around handles can stop paint from adhering. The U.S. Environmental Protection Agency advises cleaning mold and drying surfaces before painting, since paint over mold is likely to peel.
Degloss or sand glossy factory finishes to help prevent peeling. Uneven sanding can leave visible patches beneath the new finish.
Use cabinet-grade bonding primer rather than standard wall primer. Latex or wall-grade paint may chip or fade faster around kitchen heat and moisture.
A door may feel dry before its coating has fully cured. Reinstalling hardware or closing doors too soon can leave marks.
Common DIY mistakes include skipping cleaning, sanding unevenly, and choosing paint not designed for cabinets. Each can lead to chipping or peeling. Correct the preparation instead of covering a weak layer with another coat.
Older homes need special care. Painting in a pre-1978 home with lead-based paint can create dangerous lead dust, according to the U.S. Environmental Protection Agency. Avoid disturbing that coating during sanding or scraping.
Solid wood, veneer, MDF, thermofoil, and laminate don’t all take paint the same way. Identify the surface and existing coating first, then choose preparation and primer accordingly. Removing doors also helps achieve more even coverage and smoother edges, without paint buildup around hinges.
Value depends on more than the first outlay: consider preparation, finish quality, time, and how long you’ll keep the kitchen. With proper preparation and products, professional cabinet paint finishes can last 10 years or more. Cabinet-specific coatings are designed to resist scratching, peeling, and moisture damage, which matters on frequently handled doors and drawers.
DIY can offer good value if the cabinet surfaces are sound, the project scope is manageable, and you can handle the detailed preparation. Your investment includes materials and equipment, as well as time for sanding, cleaning, priming, coating, and curing. A neat result depends on completing each step consistently. If the factory finish needs extensive preparation or the material is difficult to coat, the risk of rework should factor into your decision.
Professional work may suit a kitchen where a consistent, durable finish matters more than minimizing labor. It can also make sense if you’re planning to sell within the next several years and want to update the appearance. Neutral white or another restrained color can appeal to a broad range of buyers. The value isn’t a guaranteed increase in home price; it’s a considered update that supports the kitchen’s presentation. However, if your existing units are structurally compromised or outdated, resources from luxury remodelers like A United Construction can help you weigh whether investing in high-end replacement cabinets makes more sense than repainting.
when cabinets are in good condition, you have the time to prepare them carefully, and you’re comfortable with the finish you can achieve.
when the coating is failing, the material needs specialized preparation, or you want a smooth, even result across many doors and drawers.
by weighing labor saved against your time, tools, preparation demands, and the cost of correcting a failed finish.
Decide by matching cabinet condition, your available time, and the finish you expect. Plan your kitchen painting project with those priorities in mind.
Pro Painter USA provides Residential Interior Painting for homeowners updating painted surfaces in and around a kitchen. If your plans include refreshing kitchen walls alongside a cabinet project, interior painting can help create a more cohesive room. The right scope depends on which surfaces you want painted and how they relate to the cabinet finish. Keep those details in mind as you decide whether to handle the cabinet work yourself or focus on a broader room update. Pro Painter USA also provides Residential Exterior Painting, Commercial Interior Painting, and Commercial Exterior Painting. Contact Pro Painter USA to discuss your residential interior painting project.
Let your kitchen plans guide the next step. Your DIY vs professional cabinet painting choice should suit the cabinet condition, the finish you want, and the time you can give the work. If you’re also refreshing painted surfaces elsewhere, consider how those updates can complement the kitchen without turning cabinet painting into a full remodel.
Pro Painter USA provides Residential Interior Painting for interior updates, alongside Residential Exterior Painting and Commercial Interior Painting. These services can help with painting needs beyond the cabinet decision, whether you’re planning a coordinated home refresh or a separate property project.
Think about the surfaces you want to change, the look you’re aiming for, and how you want the finished space to feel. Then take a practical next step: contact Pro Painter USA to discuss your painting plans. A clear direction can make it easier to move ahead with confidence and create a kitchen that feels right for your home.
Yes, a homeowner can get a good result if the cabinet surfaces are suitable and each coat is applied carefully. Start with a test area inside a door or on a spare panel to see how the chosen primer and finish look together. If the coating wrinkles, stays tacky, or doesn’t adhere, pause before covering more cabinets and reassess the surface and products.
Yes, but keeping doors attached makes it harder to reach edges and paint around hinges evenly. It can also leave hardware exposed to drips or overspray. If you leave doors in place, protect hinges and nearby surfaces, keep doors open while the coating dries, and work in thin layers. This approach may suit a small touch-up better than a full-kitchen color change.
Sometimes. If the problem is limited to a drip, light scratch, or small uneven patch, smooth the area and recoat it after confirming the surrounding paint has bonded. Test in an inconspicuous spot first, since a new layer can highlight differences in sheen or color. If paint is peeling across multiple surfaces, a simple touch-up won’t address the underlying adhesion problem.
A professional cabinet-painting project generally takes 5 to 7 days, depending on its size and finish. Kitchen access may be limited while doors or drawers are being worked on, so plan a temporary place for essential dishes and everyday items. Keep a clear path to appliances that remain usable, and avoid touching painted surfaces until they’re ready for normal use.
Common trouble signs include rough texture, visible brush marks, tacky surfaces, and paint lifting near handles or edges. These can result from rushed application, dust trapped in a coat, or returning doors to use before the finish is ready. Check each door in consistent lighting before reinstalling it. This makes missed spots easier to catch while the pieces are still accessible.
Professional pricing depends on the project and is provided after a quote request. Factors include the number of doors and drawers, preparation needs, materials, and finish. Compare the full DIY materials list and time commitment with the professional scope, not paint costs alone.
You might find these helpful:
We are a team of interior and exterior painters and we are not limited to house painting only. We can paint different businesses like retail shops, commercial buildings, and apartments.
We also provide restaurant painting services. We can give you more information about these services if you give us a call.